Table of Contents
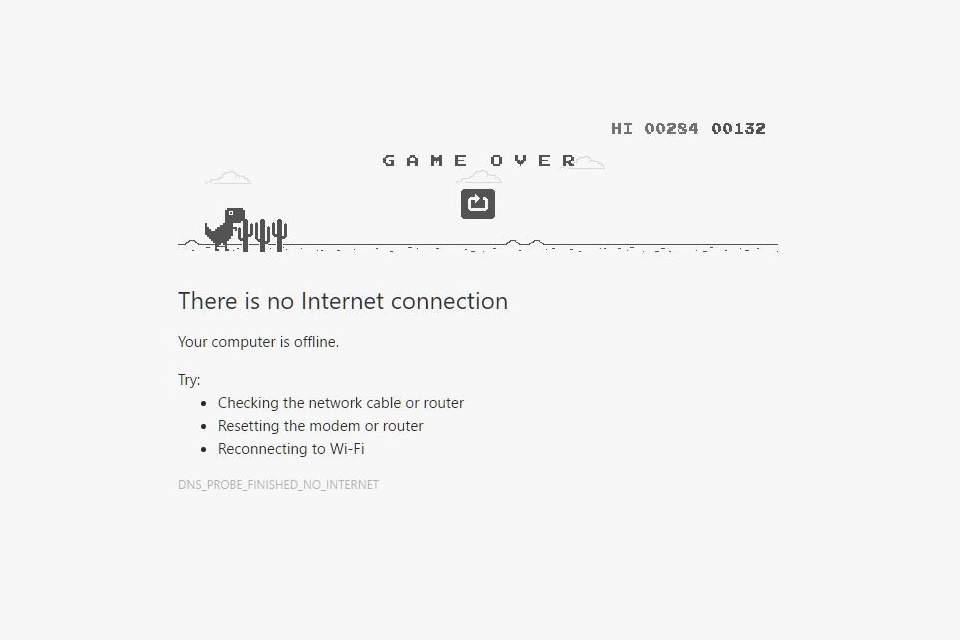
If you use the internet, you must have seen one frequent error which is very common for all internet users. That error is shown as DNS_Probe_Finished_No_Internet or in simple word DNS Probe Finished No Internet. This error usully pops up while browsing the internet.
DNS Probe Finished No Internet error usually occurs if you have very slow internet connectivity or maybe the DNS is not able to connect the Host. The cause for this DNS Probe Finished No Internet error is that DNS Cache Load Fails when you access the webpage.
Here we will discuss how you can fix DNS Probe Finished No Internet issue in Windows 10 with the help of Google Chrome also. Here are the following solutions for the error:
1. Basic Solution
We will try to solve the problem with the basic solution first as sometimes the error can be caused due to some minor issues such as slow internet speed or maybe some problem in the router/modem like loose wire connection etc. Check the connection of your router, modem to your computer connection. Then check if your internet connection is working or not.
Scan your computer and you may also use run system optimizer to clean cache, cookies, etc.
After the scan is completed, restart your computer and open Google Chrome, and start browsing to check if the internet connection working or not.
2. Clear DNS Cache Of Chrome
To solve the issue of DNS Probe Finished No Internet error clearing the DNS Cache of Google Chrome potentially can be the best fix. Following are the 2 steps to clear the DNS cache of google chrome.
Step 1: Type and Visit URL> chrome://net-internals/#dns
Step 2: Click “Clear-Host Cache” next to Host Resolver Cache.
The website will start working properly. This solution is very easy to follow and one of the most useful solution to stop the issue of DNS server.
3. Change Protocol DNS Settings
Step 1: Search ncpa.cpl in the search bar of the windows.
Step 2: Click on the option Internet Protocol Version 4 (TC/IPv4).
Step 3: Click on the Properties.
Step 4: Preferred DNS Server as 8.8.8.8 and Alternate DNS Server as 8.8.4.4
Step 5: Set IP as automatic.
Step 6: Restart Google Chrome and check by browsing any website.
4. Reboot Your Router
Access your router settings of different routers with the respective URLs given below:
- 3Com: http://192.168.1.1
- Belkin: http://192.168.2.1
- D-Link: http://192.168.0.1
- TP-Link: http://192.168.0.1
Default Username and Password: admin
After login, click on System Tools and then click the reboot button.
5. Flush Outdated DNS
- Open Run command by pressing Win+R
- Type cmd in the search
- Type ipconfig/flushdns
- Enter
- Restart the computer and check google chrome to check if the issue is resolved or not.
6. Fix The Error With Command Prompt
A proven method which is widely used by many users who have faced the DNS error.
Step 1: Press Win+R
Step 2: Type DNS cmd and click OK.
Step 3: Run the following commands
- ipconfig/all
- ipconfig/flushdns
- ipconfig/release
- ipconfig/renew
- netsh int IP set DNS
- netsh Winsock reset
Step 4: After using the Command Prompt, restart your computer.
7. Run Clean Boot On Your Computer
DNS error can also be caused by some third-party applications. DNS error can also be resolved by running the Clean Boot system. Following are the steps:
- Press Win + R
- Type MSConfig in the search box.
- Click on Services and click on the Hide all Microsoft services check box.
- Also, click to Disable all.
- Now click on the Startup tab and click Open the Task Manager. Disable all of them.
- Restart your computer.
Conclusion
This article gave various reliable solutions for DNS Probe Finished No Internet error. Try these methods and let us know which method you found convenient.


No Comments