Table of Contents
If you’re looking for 10 Ways to improve the quality of your photos, you’ve come to the right place. Listed below are some tips for improving the quality of any photograph. Read on to find out more about these tips!
Rule Of Thirds
The Rule of Thirds is a popular compositional technique. Visualizing the composition as a grid encourages you to position essential elements along the lines that define the grid. This will help you place your subject and background in the center of the frame. Make sure the critical part is facing into the frame, which will give the image a sense of direction.
The Rule of Thirds is an effective composition technique that helps you emphasize your subject. It gives your photograph a minimalist feel, which means viewers will focus on your subject without being distracted by any distracting objects. This colorful example of the Rule of Thirds shows a girl in the negative space, which focuses their attention on the main subject. Ideally, the main subject should be placed along the imaginary gridlines.
White Balance
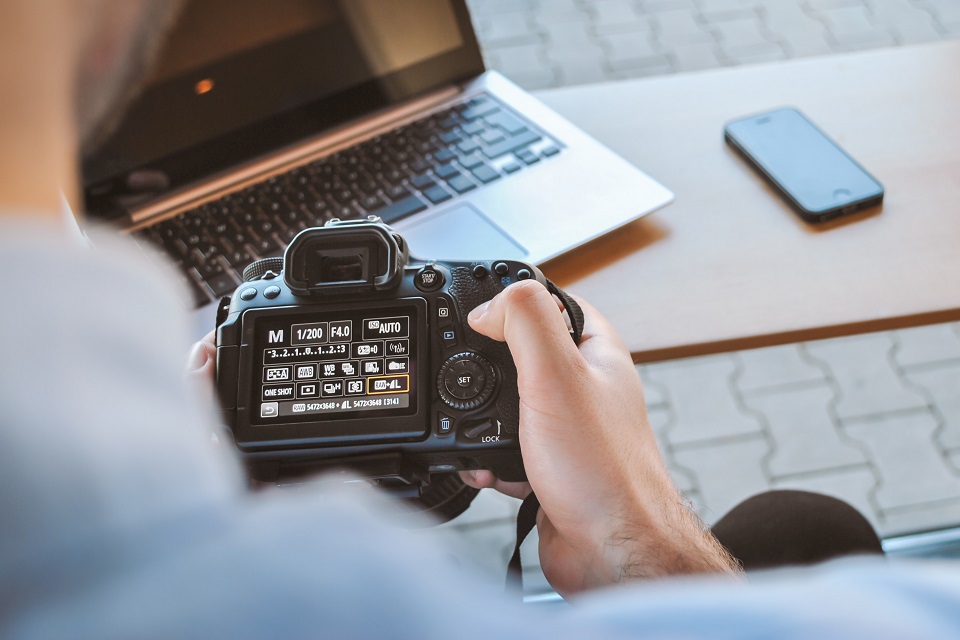
One of the easiest ways to improve a photo is to adjust its white balance using a photo enhancer tool. It is possible to do this in the camera or after the image has been taken. You can use this setting to achieve the tone you want. If you’re not sure how to do this, read on for some simple steps to improve your pictures. You’ll be glad you did once you start using it! Using white balance to enhance the quality of your photos will save you time and effort!
First, you need to know what kind of white balance you want for your photo. Different types of light have different white balances, and you should be aware of this. For example, fluorescent lights produce a blue tint, while tungsten lights produce an orange. The neutral white balance of sunlight is the most useful for outdoor photos. Regardless of the type of lighting you’re using, it’s essential to use the proper white balance for your photos.
Upsampling
Upsampling is the process of inserting zero-valued samples between original samples. To increase the sample rate, open an image file in post-processing software. under Image > Image Size > Resample. Alternatively, open Adobe Camera Raw or Lightroom and click on the Enhance option.
Upsampling can enhance the quality of a photo by enlarging it to a higher resolution. The process relies on various algorithms to minimize the loss of quality, such as interpolation, which uses existing information to estimate unknown values. It increases the resolution by adding pixels to the image. Upsampling is useful when the image is too small to print or displayed in a large frame. In the case of a digital photo, upsampling can prevent pixelation and improve the image’s contrast.
Avoiding Too Much Saturation
While over-saturation can enhance the overall impact of a photo, it can ruin its quality. To saturation can make a photo appear overly artificial, rendering it dull and uninteresting. It’s better to increase contrast rather than saturation when improving the quality of your images. When a picture is too over-saturated, highlights and shadows tend to look too dark.
The most common reason photographers over-saturate their photos are that it makes the colors seem more vibrant. However, it’s worth mentioning that increasing saturation can make an image look fake. For example, increasing saturation can bring back the color of clouds in a photo. On the other hand, reducing saturation can make it look grainy. So while you can still use the Hue/Saturation tool to enhance the quality of a photo, it’s best to avoid it if the lighting in your area is poor.


No Comments